Master BIAB Nails: 5 Techniques for a Bold Latin American Look
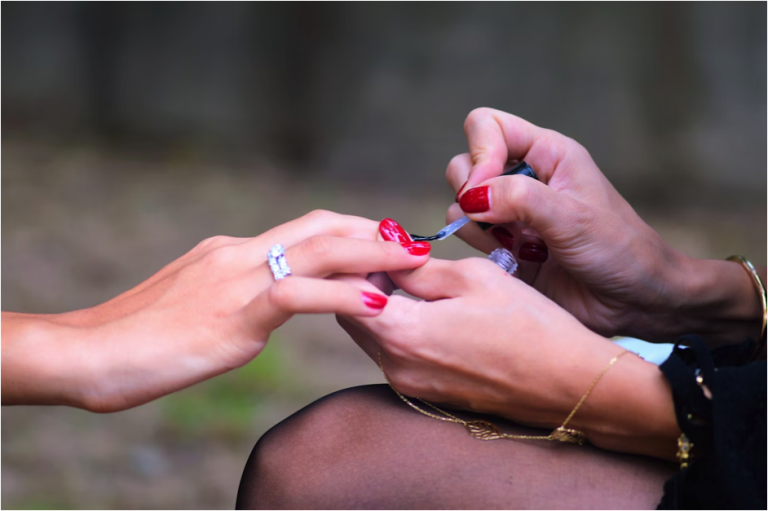
25 October, 2024Looking for professional nails without leaving the comfort of one’s home? Well, BIAB nails just became the newest craze to sweep the beauty world, promising you a long-lasting manicure that’s exquisite and that you will master in your home.
From a DIY nail enthusiast to a seasoned nail artist, these 5 tips and tricks will help perfect the art of BIAB nails and keep your mani looking flawless for weeks. Want to level up with your nail game?
Let’s discover the secrets of getting strong and beautiful nails from BIAB.
1. Nail Preparation
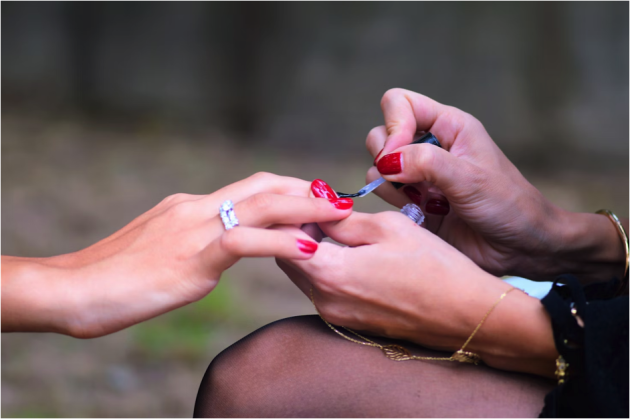
Preparation of the nail is necessary to make your BIAB nails last. Like building a house, a good manicure lasts based on how well you set the foundation. If not prepared correctly, it will lead to lifting, chipping, and peeling.
First, always push back your cuticles to give you a fresh, clean base. This allows the BIAB gel to adhere fully and not prematurely pop off at the cuticle area. Then, lightly buff the nail surface to remove shine and give a rough texture. This is necessary because it lets the gel attach well to the natural nail. Don’t overbuff it; it may weaken the nail and cause long-term damage.
After buffing your nails, clean them with an acetone-wetted cotton pad to remove dust and oil that could interfere with the gel’s adhesion. Then, apply a thin layer of base coat. This base layer is important because it offers protection and smooths the gel application, helping your BIAB nails last and not be easily damaged.
2. Thin, Even Layers Are Key
With any application of BIAB gel, less is more. While one may want to apply a thick coat in the hope that this will give him or her stronger nails, using the gel in thinner, even layers works best for BIAB. This helps the gel cure properly and prevents bubbles, uneven textures, and nail lifting.
Apply the thin base coat and cure it under the UV/LED lamp. Apply each layer precisely so that the gel is not thick in one portion of the nail while less in the other. Every layer has to be cured for a recommended time, say 30 to 60 seconds. This sets the layer of the gel and prevents wrinkling or shrinkage afterward.
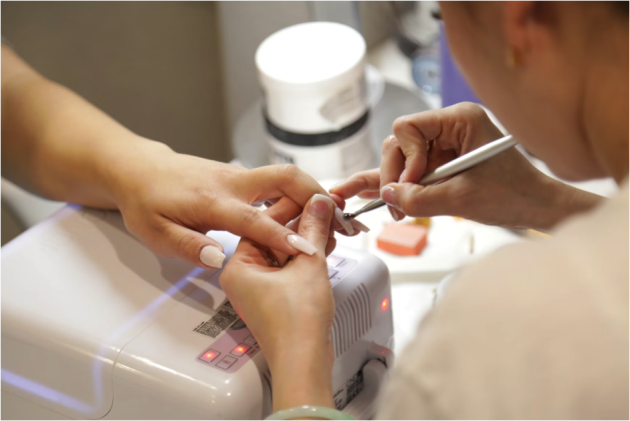
For the trickier areas, like sidewalls or any areas around the cuticles, you can use a fine nail art brush to help push the gel into those tight spots. This will keep your perfect coat, even for weeks, without lifting.
3. Master the Capping
Capping the edges of your nails is an often-overlooked step in the BIAB process, but it plays a crucial role in preventing chips and ensuring that your manicure lasts up to four weeks. When you “cap” the nail’s free edge, you’re essentially sealing the ends, which helps protect against everyday wear and tear.
To master the capping technique, swipe your brush along the edge of each nail after applying the gel. Ensure to cover the entire tip without creating too much bulk. Repeat this process to reinforce your manicure further after each layer of BIAB gel, including the top coat. Proper capping minimizes the risk of lifting and chipping, especially if you frequently use your hands for tasks like typing or dishwashing.
4. Shaping
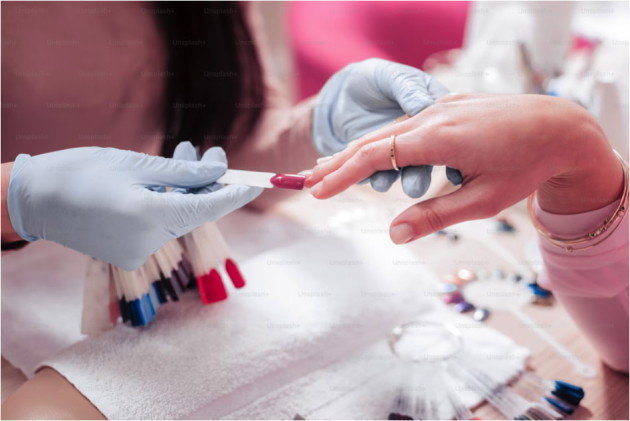
One significant benefit of BIAB nails is their versatility in shaping. Whether you prefer square, oval, or almond nails, BIAB gel provides the strength to maintain your desired shape. However, the key to perfect shape is how you file and shape your nails after the BIAB gel has been cured.
Once your final layer of BIAB gel has been cured, shape your nails using a nail file. Opt for a gentle, back-and-forth motion to prevent splitting or weakening the edges. Popular shapes like “squoval” (a hybrid between square and oval) are making a comeback, and BIAB is ideal for achieving these looks due to its durability.
Always shape your nails for a professional finish after curing the final BIAB layer. This will help you achieve a precise, sleek look until your next appointment. Additionally, you can buff the top layer slightly if you’re going for a matte look or apply a glossy top coat for extra shine.
5. Maintenance
Lastly, even the most perfectly applied BIAB nails need regular care to stay in top condition. While BIAB nails are durable, a few simple habits can significantly extend the life of your manicure.
First and foremost, moisturize your cuticles regularly. Keeping your cuticles and nails hydrated helps maintain flexibility and prevents the gel from lifting. Use cuticle oil daily to nourish the nail bed and surrounding skin.
Additionally, always wear gloves when performing household chores or working with harsh chemicals. This protects your manicure from chips, peeling, and exposure to moisture, which can weaken the gel over time. BIAB nails are tough, but they aren’t indestructible, and taking a few precautions can keep them looking fresh for up to four weeks.
Conclusion
Mastering the art of BIAB nails takes practice, but once you get the hang of it, the results are stunning, long-lasting, and healthy for your natural nails. Focus on proper preparation, applying thin layers, mastering the capping technique, perfecting your nail shape, and maintaining your manicure, and you’ll enjoy weeks of flawless nails.
Whether you’re looking to DIY your next manicure at home or enhance your professional nail skills, these five tips will help you achieve salon-worthy results every time. Try them out, and say goodbye to weak, chipped nails and hello to strong, beautiful BIAB nails.
Follow Sounds and Colours: Facebook / Twitter / Instagram / Mixcloud / Soundcloud / Bandcamp
Subscribe to the Sounds and Colours Newsletter for regular updates, news and competitions bringing the best of Latin American culture direct to your Inbox.

